
Now that we are almost done finishing our basement, we need furniture down there and of course I got sucked into the Pinterest collage of beautifully furnished modern farmhouse homes that made me swoon. My poor husband saw so many pictures of ideas for tables that he did not want to see. Bless his heart. Well, I went to Facebook Marketplace looking for a table and chair set that fit my space and I was dumbfounded when I saw the price on some of the tables. A lot of them were super beat up and had the $500 firm price tag on them. I figured that I may as well look at brand new tables at that point.
That was also the wrong way to go! I was seeing $1000 tables that weren’t even solid wood and that’s when I knew the elbow grease and constantly scanning Facebook Marketplace was going to have to come into play.
My search for solid wood (haha!)
I finally came across this table after searching every couple of hours for days for a solid wood table with farmhouse-esque legs and details. I was hoping for a table and chair set but I wasn’t that lucky. So I went and picked this gal up from the next town over for $50! This was the original listing image.

I knew I wanted a stained top and either white or black legs so it was important to me to make sure the top was solid wood for staining purposes. I could tell it was real wood by the sheer weight of the table and because the bottom of the table showed the wood grain so we were good to go!
This project only ended up costing me around $150! It could have been cheaper if I snagged the table for free on Facebook Marketplace instead of paying the $50. (Yeah, someone posted the EXACT table for free the day AFTER I bought this one, ugh). Sometimes the chairs I bought pop up on Marketplace for free too but I wasn’t willing to wait for the perfect moment on that. So I snatched these old Windsor chairs for $45.

I see these chairs on Marketplace all of the time and they never interested me until this project. I settled on these because I was inspired by these chairs from Magnolia Home which are $349 for 2 chairs!!!

Hypothetically speaking, had I bought the Magnolia Windsor Chairs for my home, I would have been $1,049 in the hole for just six chairs(+tax, +shipping, +my husband’s tears). Don’t get me wrong, I would love to buy these beautiful chairs if I had the cash! But, I don’t so here we are.
The chairs.
Instead, I picked up this magic Chalked Spray Paint by Rustoleum in Charcoal! Link to Amazon listing below. I never saw chalk paint in a can before and I was skeptical until I saw the reviews. You really need to check out the pictures in the reviews…that’s what sold me on trying this out.
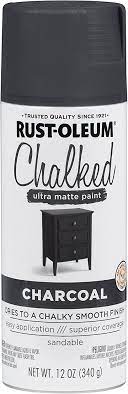
I had 6 chairs to do so I bought 8 cans to be safe. I really wanted to make sure I coated them well with both the Chalked Paint and the matte finishing spray which I will get to next.
Before I began painting, I cleaned the chairs really well with dawn and water and made sure they dried completely. One chair had some glitter glue on the seat from the previous owners that I had to sand that off. I sanded it with 60 grit and then 100 grit, then 220 to make sure it matched the smoothness of the other chair seats. (If you’re looking for a great sander, check this Rigid one out with a lifetime warranty here. I love it!)

Once the chairs were clean and dry, I moved them to a spot to spray paint far away from anything I didn’t want paint on. Since I was on dirt, I put the chairs up on two pieces of wood so I could get the bottoms of the chairs without dirt sticking to the fresh paint(I forgot to with the first chair pictured above).
You’ll want to make sure you’re painting on a calm(not windy) day that isn’t too cold. Check the specifications on the back of the can to make sure it’s a good environment to paint in.
Chalk paint advertises that there is little prep work involved so I wanted to see how well it would hold up on these chairs without sanding anything off so I got to painting!
I did three coats of paint on each chair. Making sure to follow the listed instructions to paint. To do the bottoms of the chairs I flipped them over after drying to make sure I didn’t miss any spots. & believe me… there were so many times I thought I got every spot until I found another that I missed.
Once they looked good and were completely dry, I went for the Matte Clear finishing spray(shown below). I did about 6 coats on each chair. Yes, 6 coats. I really wanted to be sure these wear sealed and I wanted them to have a chance at holding up. I will be updating this post later with how they held up.
I used the 2X Coverage Matte Clear General Purpose Spray for this project because I couldn’t find the Chalked Clear Matte Spray in stock anywhere. It is available on Amazon or you can find it at Home Depot. For this project I bought 3 cans and it even gave me enough to use on the table top!
This stuff is awesome! The finish is beautiful and it dried super quick. That’s all for the chairs! Once they were dry they were good to go.
On to the table!
Next, I moved on to the table. I wanted to make sure I had the table legs the color I wanted them first. Luckily they were already white and I just sanded with 220 grit in some spots where there were paint drips or gum under the table from the previous owners (eww…David!). I went over some of the corners with the sander to add some antique-look to it and that was it.
If you wanted to paint the legs of the table, now would be the time to do it because you wouldn’t want to get the top of the table how you want it just to accidentally get paint on it while you’re working on the legs! You should be able to follow the same process as I used on the chairs for the legs.
Since my legs were done, I moved to the top. This thing had LAYERS of gray paint and sealant and stain on it but it came right off with a fresh 60 grit sanding pad. Once I had all of it off, I sanded with 80 grit, 120, then 220 to make it nice and smooth. This is essential to making sure the top takes the stain well and you have a nice surface at the end of this.
Before I stained, I applied this Varathane Pre Stain Wood Conditioner. This stuff is a game changer! It keeps the stain from being blotchy, streaky, and uneven on your projects. From the description, “Works on interior soft wood surfaces including pine, maple, alder, fir and birch”. If you want your stain to look good, you need this liquid gold. I use it on all of my projects.
All you do is apply is with a clean cloth or clean paintbrush(I used a paintbrush because I like it better) and let it sit for at least 30 minutes before staining.
Then I grabbed the Espresso Wood Stain from MinWax I had sitting around from previous projects and applied it using an old clean rag in a well ventilated area(wear gloves! I seem to forget these at the store every time. EVERY time). I made sure to look out for any spots where it was uneven, buffed it out, and let it dry overnight.
In the morning, I made sure the top was clear of any dust that might have settled on it overnight with a damp cloth. I got the legs clean too and moved the table to an area to spray the clear matte top coat on.
Make sure to put the table on piece of wood or something to make sure it’s up off of the ground if you’re spraying it in an area with dirt like I was.
I started by spraying the top and tried to make sure I kept shaking the can during the entire process to avoid clogging. I put 6 coats on the top of the table and about 3 on the bottom. Since the bottom is antiqued, I wouldn’t mind if it got a little banged up by the chairs. It would add character to my farmhouse-esque table(and that’s why I love this style).
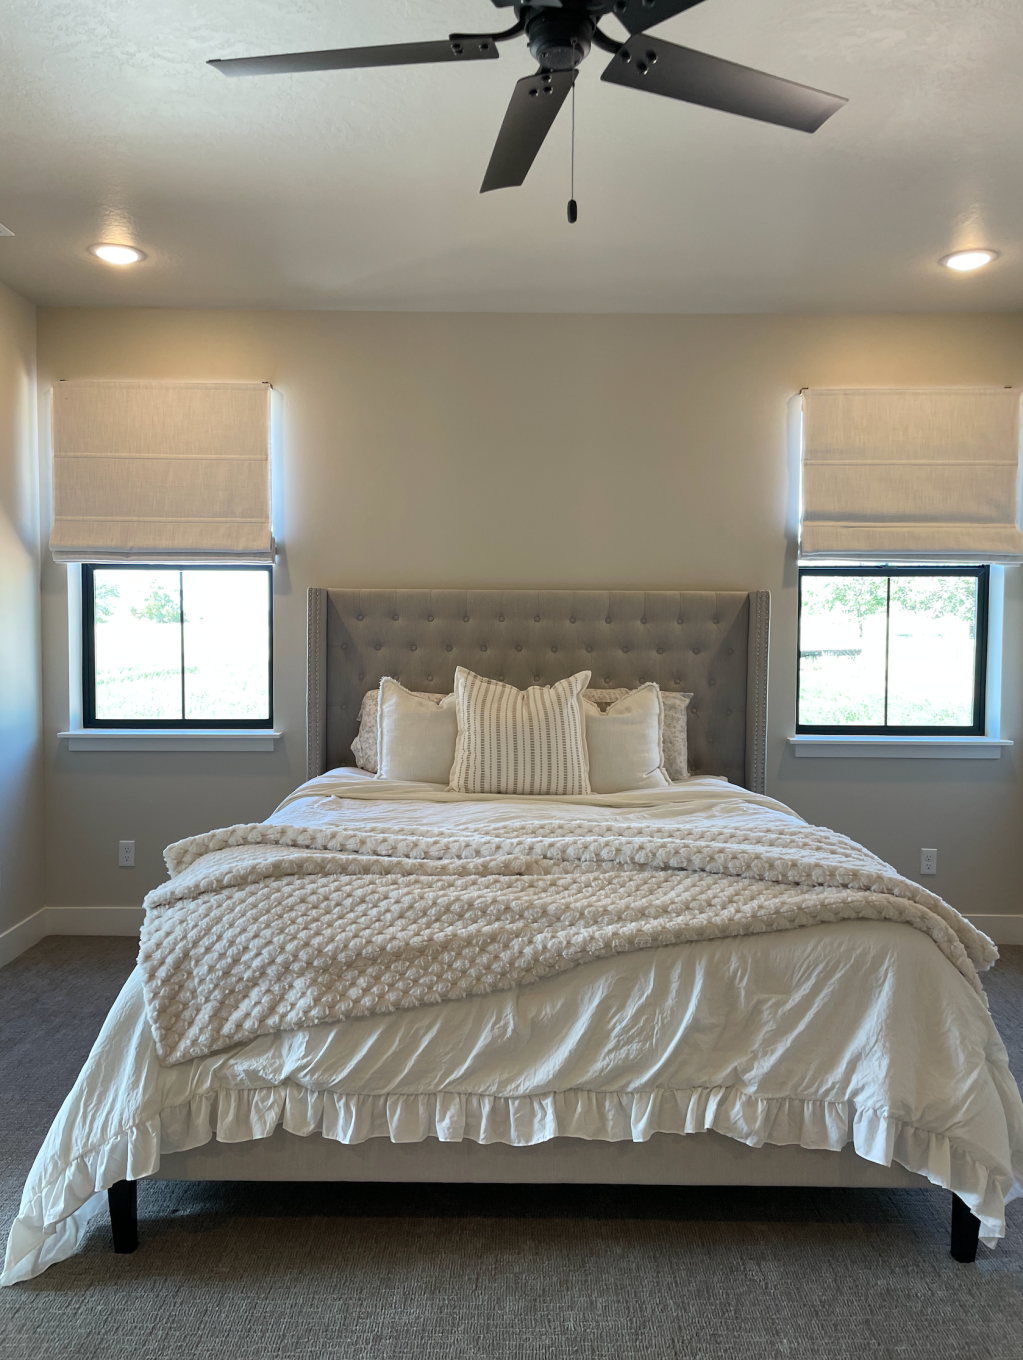
Once dried, I moved it to the basement and I will be updating how it holds up. I absolutely love the look of the matte top coat on the stained wood. I usually use a polyurethane, but depending on how it holds up, this may be my new go-to!

Let me know if you ended up trying any of my tips, & please include pictures. I hope you enjoyed following along this project with me!
Nikole
Hi Laura, my chairs have held up pretty well. Though I do a touch up every year. Buy some extra…
If you used a paint brush for the stain, it may be that your stain needs time to completely dry.…
I love your table and so I did mine last night like this. But the table top is little sticky.…
I’m about to do a similar project… how are the chairs paint holding up? Any scrapes or chips?
Hey Lisa! Thank you for letting me know. I fixed the link to make it easy to find. I love…


Leave a comment